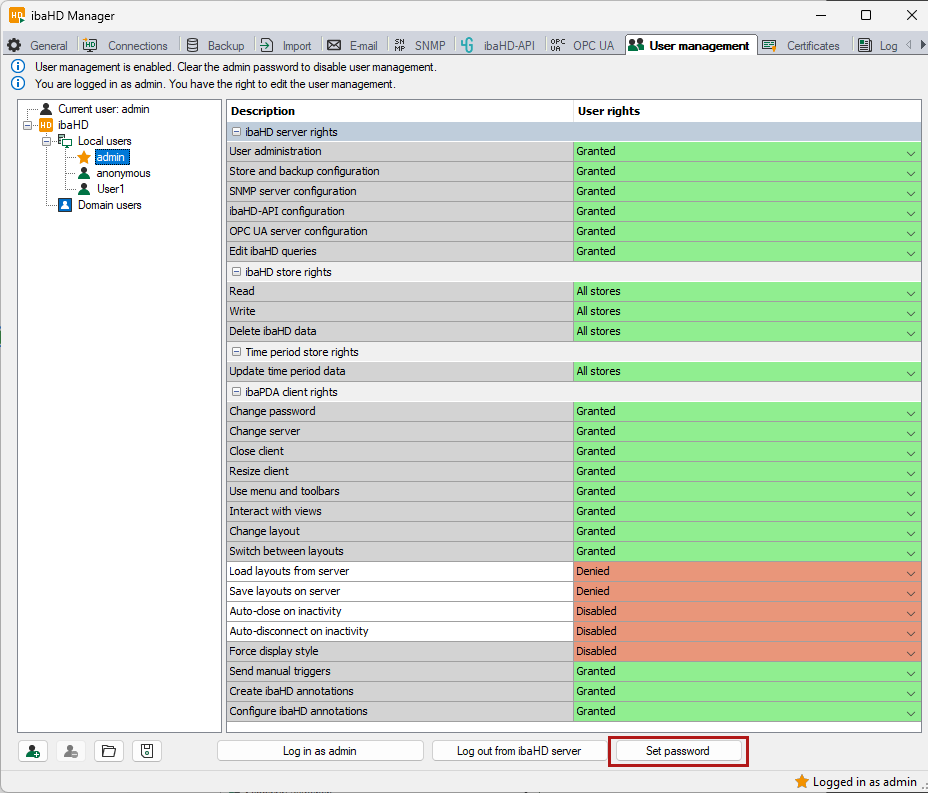
The user management allows the creation of different user accounts. Each user account can be provided with various rights with respect to ibaPDA client, ibaHD-Server and HD stores. The users admin and anonymous ate the default.
The administrator user, called admin, can set up or remove other users and change their rights. The name admin cannot be changed.
The user anonymous serves for accessing older program versions which do not offer the possibility to enter user name and password, such as ibaPDA-V6, ibaAnalyzer v6.x and ibaDatCoordinator v2.1.0 and older. These program versions connect to the ibaHD-Server with the user anonymous.
Via the configuration of the HD store permissions for the user anonymous, you can individually grant or deny the right to read and/or write for each HD store if you are working with older program versions.
Perform the user configuration in the User administration tab in the main window of the ibaHD Manager.
As long as the user admin does not have a password, the user administration is disabled. If the user administration is disabled, every ibaPDA client logs into the ibaHD-Server as admin. All clients therefore have all rights.
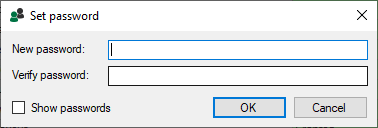
To enable the user management system, you have to set a password for the admin user. Click on the <Set password> button.
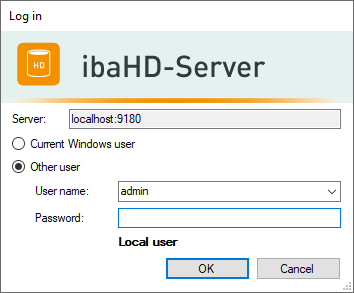
If user management is activated, a login dialog appears as soon as you want to connect to the ibaHD-Server.
If user management is activated and you are logged in as admin, you can set up and remove additional users and change their rights. You can also assign passwords for each user account.
To add and delete users, the following buttons are available at the bottom:
|
|
Add local user/domain user (in ibaPDA client, a distinction is made between ibaPDA users and ibaHD-Server users). |
|
|
Delete selected local user/domain user |
|
|
Load users from an existing user file (*.pda_users) |
|
|
Save the configured (ibaPDA) users in a user file (*.pda_users), incl. all permissions and passwords |
You can change the permissions by selecting the relevant user in the tree and choosing the desired option in the table to the right using the fields' drop-down menu.
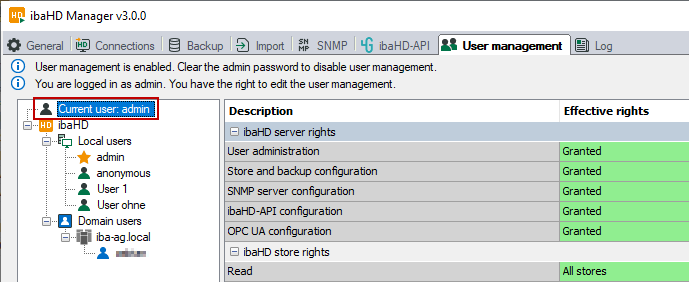
The current user is shown in the field Current user.
The User field lists all configured users.
Adding users
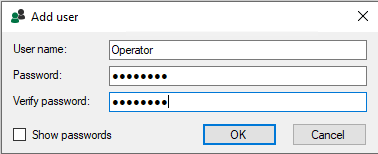
Use the button![]() to add a new user. Enter a user name. Setting a password is optional. The user can
also specify or change the password at a later time. Exit the dialog with <OK>.
to add a new user. Enter a user name. Setting a password is optional. The user can
also specify or change the password at a later time. Exit the dialog with <OK>.
Removing users
Select the relevant user from the list and click the ![]() button.
button.
Changing the password
If you want to change a password or specify a password for a user later on, select the relevant user and click the <Change password> button.
If you are not logged in as admin, you can only change your own password in the user management dialog, unless the user administration right has been granted to you by the admin beforehand.
