Proceed as follows to configure time period stores. Further Information on the setting options can be found in Time period stores – Settings.
-
First select the top level time-based HD store in the tree view or create a new one, see Configuring HD stores.
-
Click the
 button.
A new node for the time period store is created under the selected time-based HD store.
You can add multiple time period stores to a time-based HD store.
-
Enter a name for the store and optionally a comment.
-
Establish the database connection by selecting an existing connection under Database or select Create database connection… to configure a new one.
If you select an existing database connection, you can configure it with <Edit…>. All databases that have already been configured for ibaHD-Server are offered.
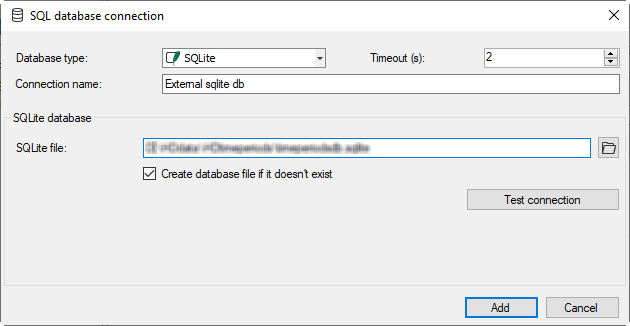
When you establish a new connection, the configuration window opens.
-
Select the database type and enter the necessary information depending on it. In addition to the connection name and a timeout, these are:
-
SQLite: SQLite file path
Enter the file path to an existing file or also activate the Create database file… option if this is to be created first.
-
-
Use the button <Test connection> to check the configuration.
-
To be able to use the store, activate the Enable store option.

To remove an existing time period store, select the time period store and click on
the button ![]() .
.