In the following, you will learn how to import data files into an HD store. You can only import data files into time-based HD stores. It is possible to import while HD data recording is running.
-
In ibaHD Manager, select the Import tab and then <Import data files>.
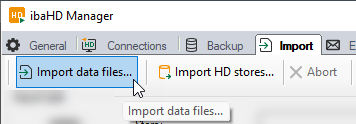
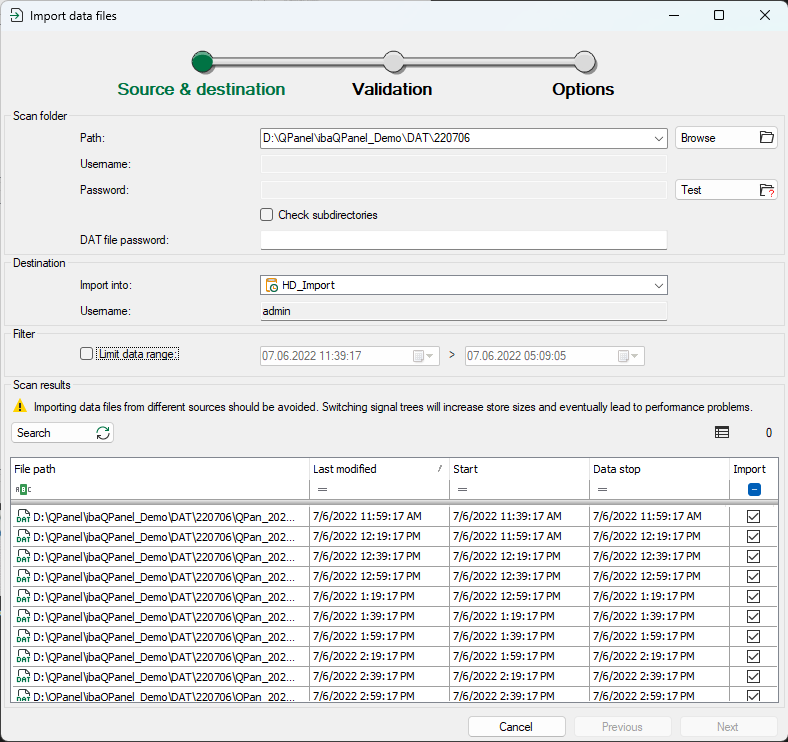
The import wizard opens and shows the settings for Source & destination.
-
Make the settings for the source and destination of the data files, see Data file import – Set source & destination.
-
To continue, click on <Next>.
Note

A note may already appear at this point that the selected DAT files come from one time range, which is before valid maximum time range of the HD store.
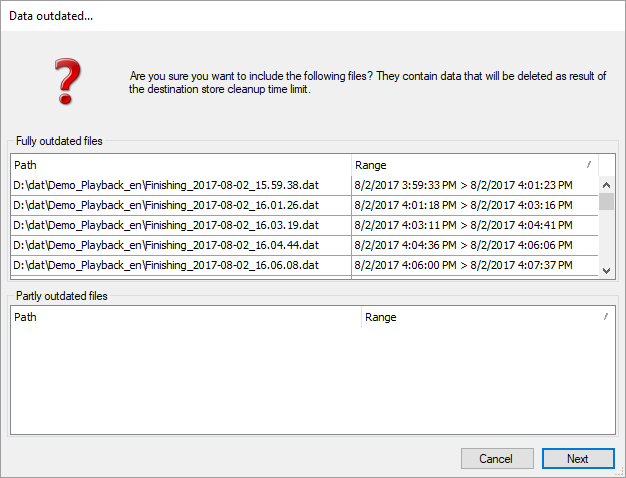
Changing the time limit in the HD store configuration may solve the problem.
-
Check the validated data, see Data file import – Validation.
-
To continue, click on <Next>.
-
Enable further options if required, see Data file import - Options.
-
To start the Import click on <OK>.
A dialog shows the percentage progress of the import.

During the import, you can interrupt the import process at any time with <Abort>. Partial imports that have already taken place will not be reversed.
In addition to the actual value of the data throughput in B/s, the fill level of the buffer memory is also indicated in %. If the buffer reaches a fill level of 100 %, the import pauses until the buffer fill level has fallen below 50 % again.
The table in the middle shows the data files to be imported, with the status of the import displayed in the right-hand column.
-
Green check mark: Import successfully completed
-
Blue arrows: File is currently being processed
-
Red cross: Import failed
You will find the log messages at the bottom of the dialog.
-


