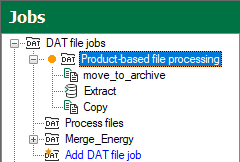
To add tasks to a job, follow these steps.
Prerequisite: The job has been stopped.
-
Decide which task type you need, see Overview of task types.
-
In the job tree, click the “Add task” link below the job, or select the command from the job's context menu.
The selection dialog opens and displays all task types permitted for that job type.
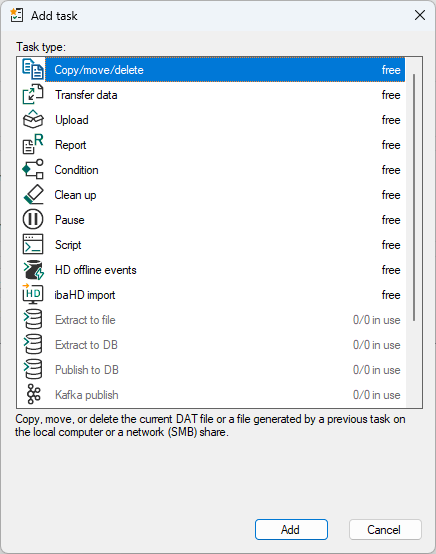
All license-free task types and those for which you have licenses are active. All other task types are grayed out. The right-hand column shows the respective license status. When you select a task type, a description of the task will also appear at the bottom of the window.
For further information on task types and plug-ins requiring a license, see Licenses.
-
Select the desired task type and confirm with <Add>.
The new task is added at the last position under the job node.
-
Adjust the order of the tasks as needed.
The order of the tasks is important because it corresponds to the processing sequence from top to bottom. Pay particular attention to the correct order if the execution of a task depends on the result of a previous task.
-
Select the added task node in the tree.
The settings options for the task appear in the display and configuration area.
-
Configure the basic settings for the task, see General task settings.
All tasks share the settings areas ID and Actions. The target settings relevant for file processing in some tasks are also described in the basic settings.
-
Configure the task-specific settings.
-
If necessary, repeat the steps for additional tasks until all tasks for the job have been created.
-
To apply the changes to the configuration, click in the parent job or to the left above the navigation pane on
 .
.You can identify jobs with unsaved configuration changes by the orange dot in the job tree: