Time periods mark a time range within a time-based HD file. The time period data is generated by ibaPDA and saved as a table in ibaHD-Server. Time period data is useful to store and mark production data for analysis purposes or to mark the data belonging to work shifts.
The start and end time and a unique identifier are stored for each time period. In addition to these standard parameters, calculated values or meta data from the production system can also be saved to enrich the information for a time period. You can then use the data for filtering or for any type of statistical process analysis.
ibaDaVIS can read the data via the standard ibaHD API read interface. All tile types support the visualization of time period data.
Prerequisite for the use of time periods
Before you can use HD time periods, you must establish a connection between the ibaDaVIS and the ibaHD-Server on which the time periods are recorded. The time period function is supported by ibaHD-Server v3.1 or higher.
See Configuring a ibaHD-Server connection.
In addition, timebased HD stores must be configured with time periods.
Configuring time periods from time-based HD store as data source
-
First add a timebased HD store, see Adding a time-based HD store, or use an already configured timebased HD store.
The selected HD store must already contain time periods.
-
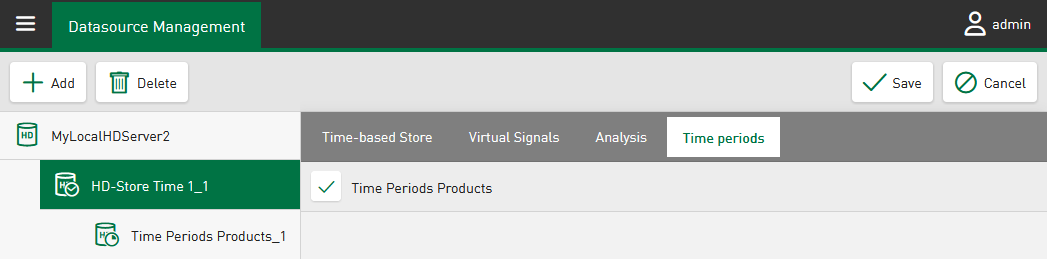
In the configuration dialog of the datasource, select the time periods from the HD clipboard in the Time periods tab.
The selected time periods then appear in the datasource tree under the time-based HD store.
-
To finish setting up the time period as a datasource, tap <Save>.
-
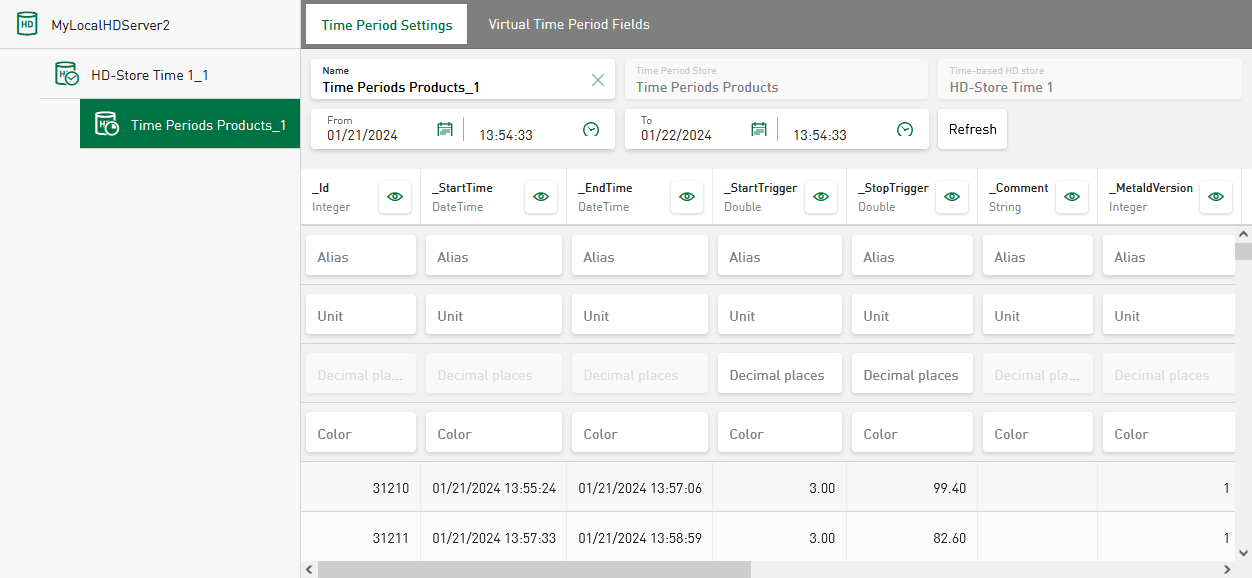
Select the time period in the datasource tree.
A preview of the time period data is displayed in the Time Period Settings tab. If no time period data is displayed, you can change the displayed time range and update the preview manually.
-
Optionally adjust the table settings, see Table settings.
You can also adjust the time range.
-
In the Virtual Time Period Fields tab, you can also add and edit virtual functions, see Configuration of virtual signals.


The configuration is immediately applied and completed by pressing <Save>.