The USB interface is located at the bottom of the device and can also be used for accessing the web interface.
To set up access via the USB interface, you need the driver files from the "iba Software
& Manuals" data storage medium. In the directory 02_iba_Hardware\ibaBM-DP\01_USB_Driver\ you will find drivers for Windows XP, Windows 7 or Windows 8/8.1 and Windows 10.
-
Connect the computer or laptop to the USB interface of the device via a standard USB cable.
-
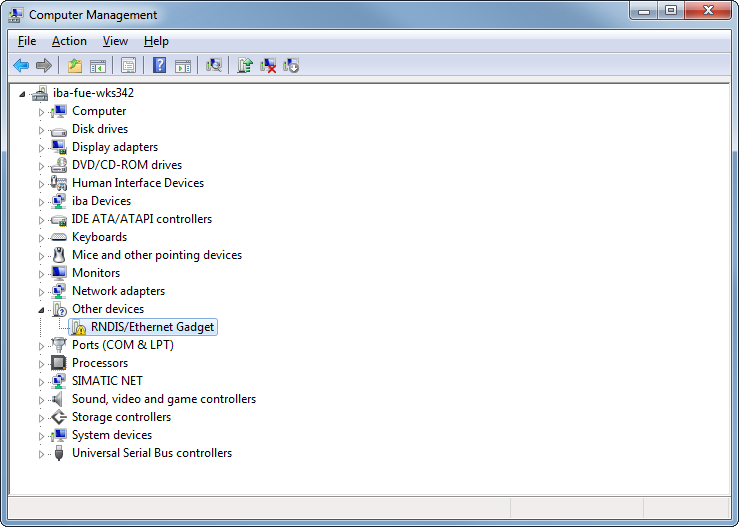
Open the device manager.
A new device is displayed: Depending on the Windows version in different sections and with different names:
-
Windows XP: "RNDIS/Ethernet Gadget" under "Network adapters"
-
Windows 7: "RNDIS/Ethernet Gadget" under "Other devices"
-
Windows 10: "Serial USB device" under "Ports (COM & LPT)".
-
-
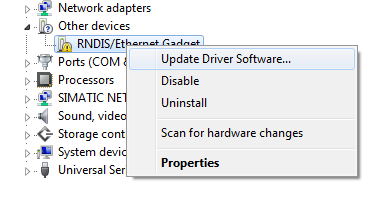
Mark the device.
-
Right-click to open the submenu and select Update Driver Software....
-
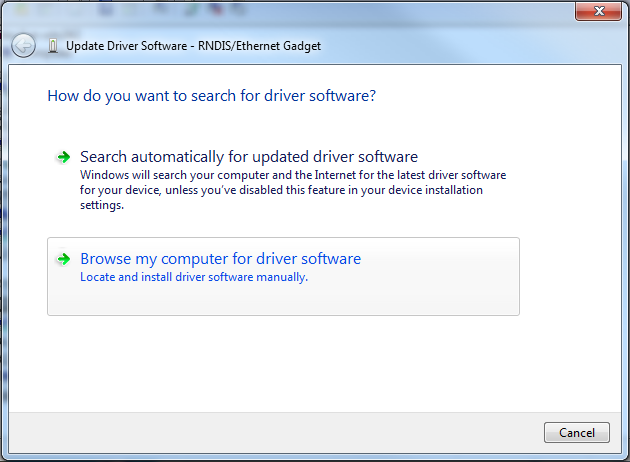
In the following dialog, select Browse my computer for driver software and tap <Next>.
-
Insert the data medium “iba Software & Manuals” (included in delivery) and click on <Browse> in the following dialog.
Select the directory with the drivers:
02_iba_Hardware\ibaBM-DP\01_USB_Driver\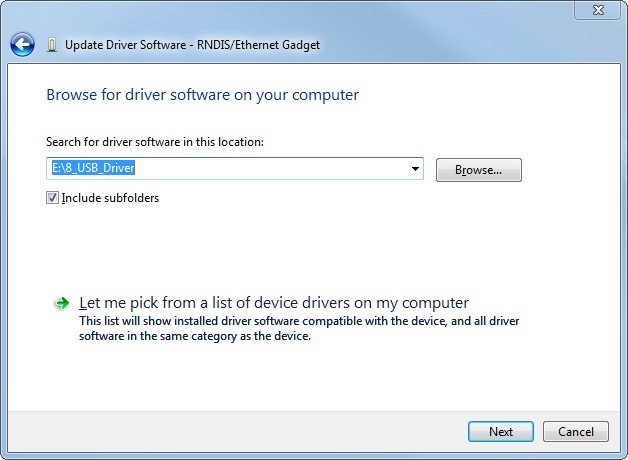
-
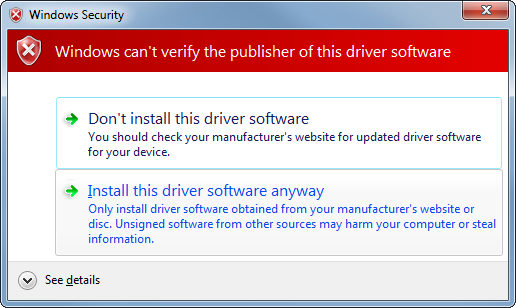
Select Install this driver software anyway at the Windows security notice.
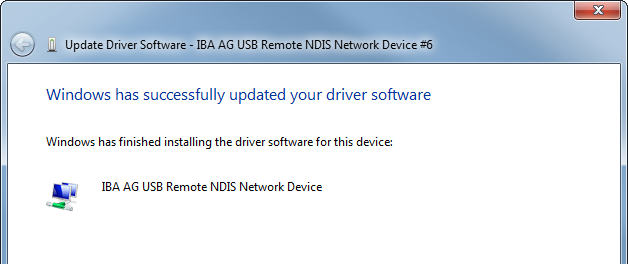
When the driver installation has been finished successfully, the following message is shown.
-
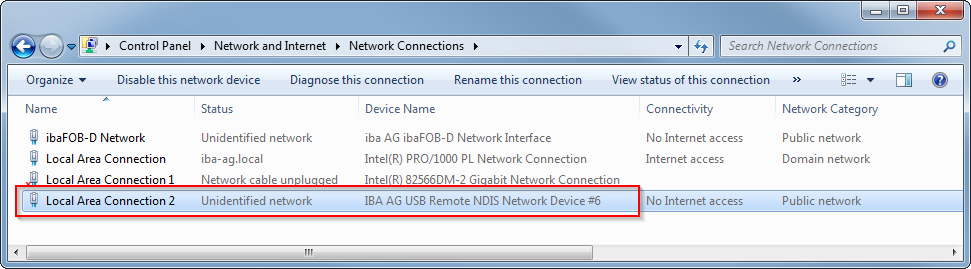
To check, open the overview of network adapters via Control Panel – Network and Sharing Center – Change adapter settings.
A new network adapter of the type "IBA AG USB Remote NDIS Network Device" should be displayed. ibaBM-DP assigns automatically a suitable IP address to the new network adapter from the subnet 192.168.0.x using DHCP.
-
To access the web interface of the ibaBM-DP, start your web browser and enter the address "http://192.168.0.1".
-
If there are connection problems, the IP address allocation with DHCP may not work properly. If this is the case, assign manually an IP address to the new network adapter "IBA AG USB Remote NDIS Network Device".
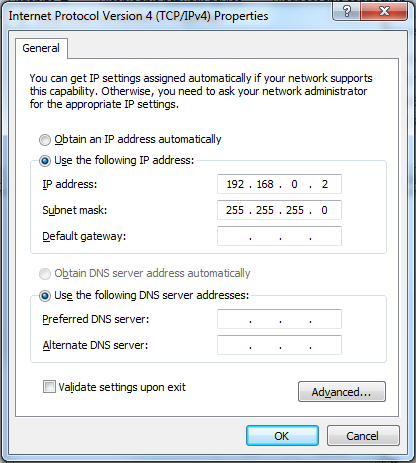
Open the dialog for the properties of the network adapter with the right mouse button. Mark the entry "Internet protocol Version 4 (TCP/IPv4)" and click on <Properties>.
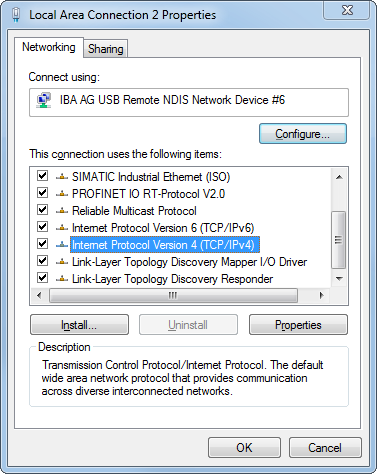
A new Internet Protocol Version 4 Properties dialog opens.
-
Select Use the following IP address and enter an address in the IP address field which belongs to the same subnet like the fixed IP 192.168.0.1 of the USB interface of ibaBM-DP. This can be e. g. the address "192.168.0.2". Under "Subnet mask", you have to enter "255.255.255.0".
-
End the dialog by clicking on <OK> and the preceding dialog with <Close>.
-
Now, try to open the web interface of the device with your web browser again. Enter the address “http://192.168.0.1” in the web browser.


Note |
|
|---|---|
|
The USB interface of ibaBM-DP has the fixed IP address 192.168.0.1. This address cannot be modified. The web interface in the browser can only be opened with the address http://192.168.0.1. The host name cannot be resolved via the USB interface. |
|