To set up an ibaPDA ActiveX Control on a SIMATIC WinCC system, proceed as follows.
Please note that as a prerequisite, the components ibaPDA-Client and ibaPDA ActiveX-Control must be installed on the SIMATIC WinCC computer.
Create ActiveX control
-
Create a new image in the Graphics Designer of SIMATIC WinCC.
-
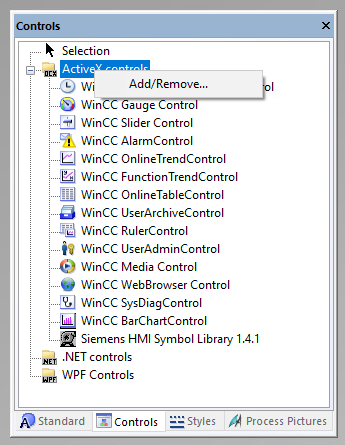
Open the window with the controls ("Controls"). If ibaPDA ActiveX Control is not yet present, you will need to add this first. If the control is already present, proceed to step 5).
-
Right-click in the "Controls" window and select Add/Remove... in the context menu.
-
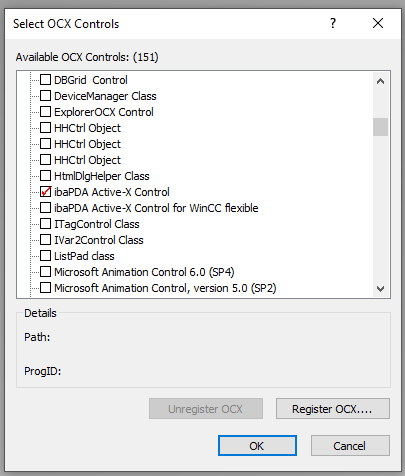
In the "Select OCX Controls" dialog, set a check mark next to ibaPDA ActiveX Control and close the dialog again with <OK>.
-
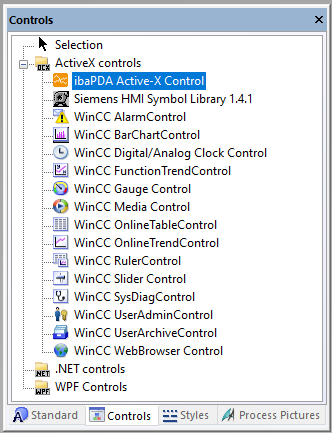
Now select the ibaPDA ActiveX Control in the "Controls" dialog and insert a new instance into the image.
-
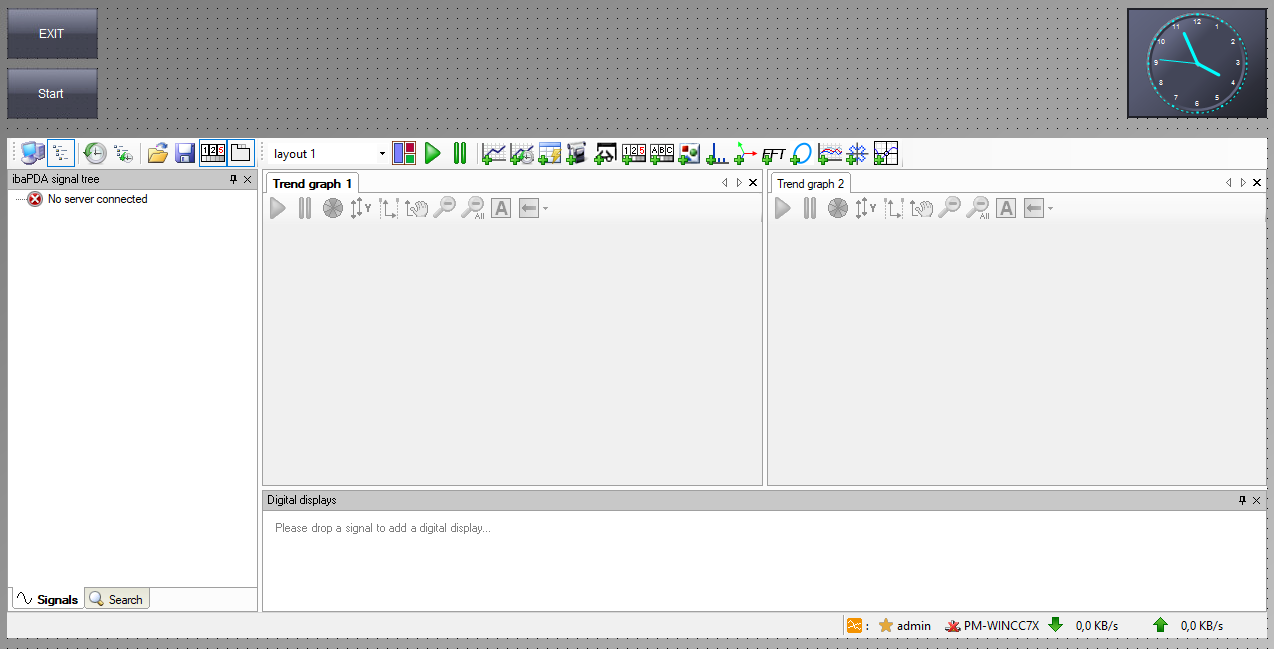
The result is a typical ibaPDA client interface, whose appearance may differ in design mode and in the subsequent runtime mode, because it is initially a placeholder.


Object properties
The ibaPDA ActiveX Control has some properties that you can configure.
In the Graphics Designer, double-click the ActiveX control to access its properties.

A listing of the properties and their description can be found under Methods and properties.