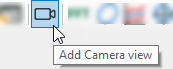
A new camera view can be added by
-
clicking the corresponding toolbar button
-
or by using the menu View – Add view – Add Camera view
-
or by double clicking on a camera in the signal tree (showing immediately the actual picture of the respective camera).
If you choose one of the first two methods, you should add the cameras to the view by drag and drop them from the signal tree.
In ibaPDA, an ibaCapture server is assigned to a so called ibaCapture module. The ibaCapture modules are listed in the signal tree like all other modules. The cameras – up to 64 cameras per module – can take the same position like the measurement signals in other modules.
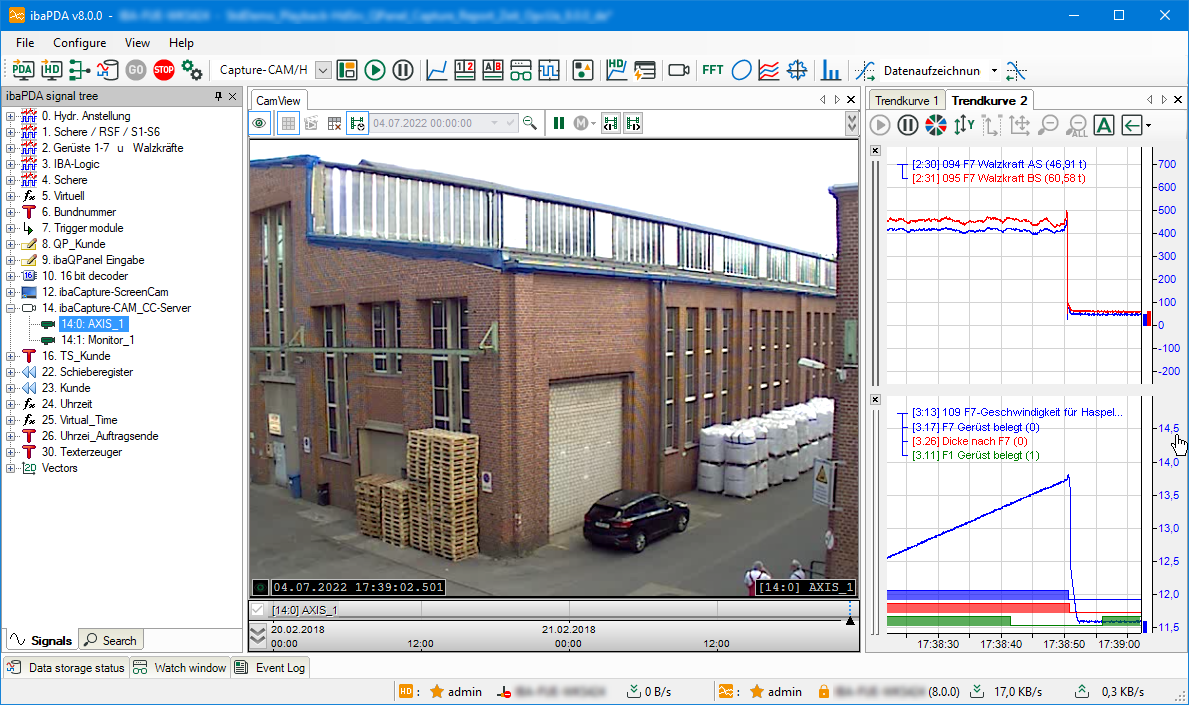
Generally, the camera view pane can be moved and rearranged like any other view in ibaPDA (dockable windows).
The tool used for video display is ibaCapture Player. In the camera view, you have different functions such as zooming or panning by using the mouse wheel, showing current images (live) or replaying recordings, etc.
If you use an ibaCapture camera view either on your normal ibaPDA client or on an ibaQPanel, you can use text channels for overlay text displays.
For more information, see manual part 2, Using text signals.
Other documentation |
|
|---|---|
|
For more information about settings and operation of the camera view, please refer to the ibaCapture product manual. |
|